
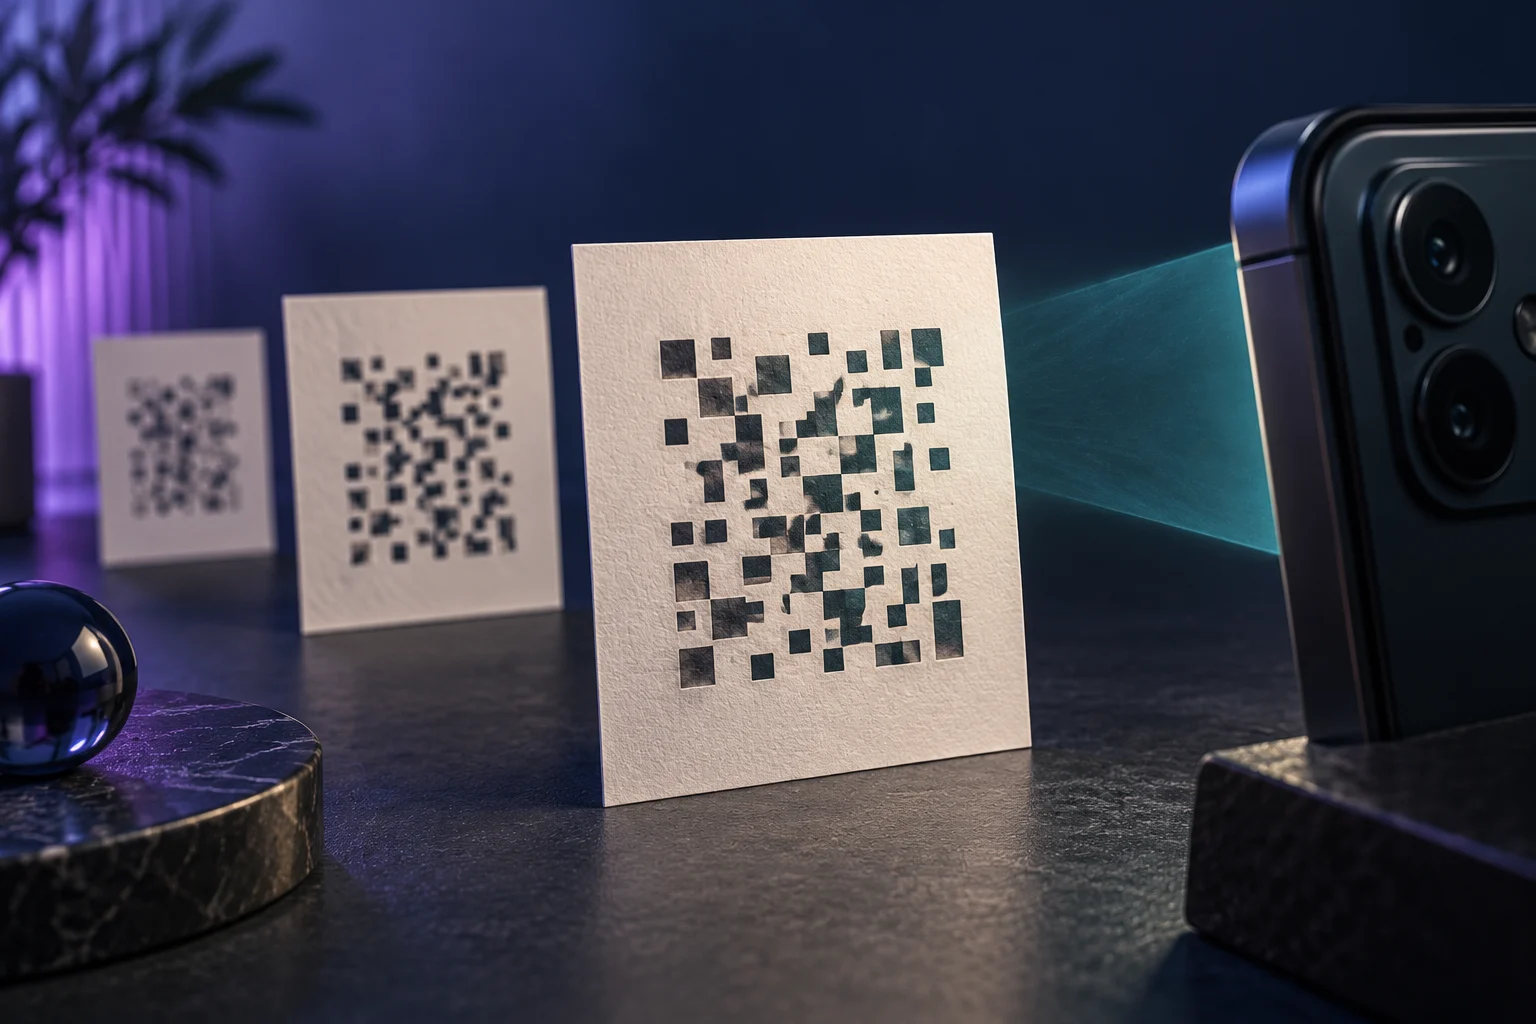
Print QR Codes That Work Beyond Your Design Preview
Improve QR print quality with clear margins, strong contrast, suitable placement, and real scan tests before committing to a full print run.
A QR code that scans from a bright design preview may fail after it is reduced, printed on textured stock, wrapped around packaging, or placed behind reflective glass. The final physical object is the thing a customer must scan. Build your review around that object: its module size, surrounding space, contrast, viewing position, and destination. One reliable proof on the intended material is more informative than repeatedly scanning a large image on your own monitor.
QR print quality begins with the final use
Write down where the code will appear and how a person will approach it. A table card is held differently from a window poster. A product label may curve, crease, or pick up reflections. A sign may be seen from a position where the reader cannot move closer. These details determine the test you need before deciding that the artwork is ready.
Use that scenario to choose a practical size and placement, then verify it. Avoid treating a single size-to-distance rule as a guarantee for every camera, symbol, and surface. The dynamic QR code guide explains how the destination can remain manageable after printing; physical scan reliability still needs its own review at the size the customer will actually encounter.
Preserve a clean margin around the symbol
The small squares that make up a QR symbol are modules. DENSO WAVE specifies a clear margin four modules wide on each side of a standard QR Code. That space belongs to the symbol's working area. A decorative frame, caption, crop line, or neighboring photograph should not consume it just because the central squares remain visible.
Ask the designer to inspect the exported artwork at its final dimensions rather than judging only the editable source file. Check the version sent to the printer and the printer's proof. If a template adds a border automatically, verify that the border stays outside the required clear area. This is an easy requirement to lose during layout adjustments, particularly when somebody tries to fit one more line of copy onto a small label.
Choose contrast and material together
A restrained design with clearly dark modules against a light background is a sensible starting point. Evaluate the result after printing, including any transparent substrate, coating, or finish. A color that looks distinct on screen can behave differently when reflected light, paper color, or print process changes the appearance. The important object is the final mark under realistic illumination.
Place the code away from busy background imagery, folds, and areas likely to be obscured. If brand guidelines require unusual colors or a glossy finish, increase the seriousness of the physical testing rather than assuming the scanner will compensate. Treat decorative changes as variables you must verify. A successful scan before lamination does not validate the laminated item, and a successful flat proof does not validate the same artwork wrapped tightly around a curved package.
Export clean artwork and avoid casual resizing
Use the format and resolution appropriate for the printing workflow. A vector version can preserve sharp module boundaries when the printer supports it, while a suitable raster export needs enough detail at its intended physical size. Do not stretch the code unevenly or turn a tiny screenshot into production artwork. Ask the printer to confirm how the symbol will be reproduced.
Error correction helps a QR Code recover from some dirt or damage, but it is not a blanket allowance to cover arbitrary areas with a logo. DENSO WAVE notes that higher correction levels affect the amount of data and symbol size. Test any customized version as its own design. Keep an unmodified reference so that a failure can be compared against a simple, known starting point rather than a sequence of increasingly decorative experiments.
Test the real item from the reader's position
Print a small proof run on the actual or representative stock. Scan it with more than one phone, from the expected distance, and under the lighting likely to be present. Include the ordinary camera workflow customers will use. Rotate or reposition the item as a customer reasonably might; do not count a scan that requires holding it in an unrealistic position as a satisfactory result.
Record the material, dimensions, finish, device, and conditions for each proof. If one variable changes, repeat the relevant tests. A simple pass record is enough for a small campaign, provided it refers to the actual artwork version. Keep one approved physical sample with the production order so that the final batch can be compared with what was tested, especially when a supplier substitutes a material or modifies the layout.
Verify the destination after the code is recognized
Recognition is only the beginning of the journey. Open the resulting page and confirm the domain, content, language, and mobile usability. Test after any destination update as well as before printing. A perfectly printed symbol can still lead to an outdated page, an expired offer, or a form that does not work on a phone.
When using Lumeraya Links, check the currently available QR and destination controls for your account rather than assuming every printed code has the same editing options. Consult Links Help when choosing the workflow. Keep a short human-readable address or another reasonable fallback nearby when appropriate, so a customer has a route forward if their camera or the physical item creates a problem.
Separate proof scans from campaign interpretation
Your test scans may appear in analytics depending on the service and its filtering. Record when and how you performed them, particularly for a small campaign where a handful of internal tests can distort the early picture. A recorded scan does not automatically mean a customer read the destination or completed the intended action. Define that action separately before evaluating the campaign.
The QR measurement guide explains how to interpret those events without treating all traffic as the same behavior. Keep the print approval record distinct from the performance report: one establishes that the physical object works, while the other examines what visitors do after using it. Both are useful, but neither replaces the other.
Approve the physical proof, the final destination, and the expected customer journey together. Then inspect samples from the actual print run before broad distribution. This modest sequence catches problems while corrections are still inexpensive and gives your team an identifiable version to compare when a particular location or batch later stops scanning reliably.